Make a Pinch Pot!
Here are some instructions for making a simple, handbuilt cup. A
cup made this way is called a pinch pot, because of the way the clay is squeezed between the thumb and fingers to form the walls.
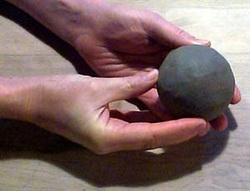
Start with a ball of clay
about the size of a medium orange. Most large cities have a pottery supply
business located in them. You can buy inexpensive prepared clay from a supplier
or, for a more primitive experience, try finding some clay in a stream
bed.
Here are some instructions for making a simple, handbuilt cup. A
cup made this way is called a pinch pot, because of the way the clay is squeezed between the thumb and fingers to form the walls.
Start with a ball of clay
about the size of a medium orange. Most large cities have a pottery supply
business located in them. You can buy inexpensive prepared clay from a supplier
or, for a more primitive experience, try finding some clay in a stream
bed.

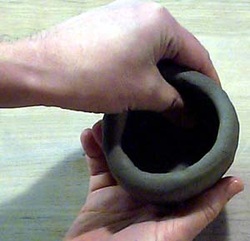
The first step to making your pinch pot is to start the opening.
Cradle the ball of clay in one hand and gently press the end of your thumb into
the clay. A good method is to press down a bit with your thumb and then give the
clay a bit of a turn — press down some more and then give it another little turn. This helps to keep the hole you are making centered and the walls an even
thickness. When you sense that you are getting close to the other side of the
clay ball, stop before you go through.
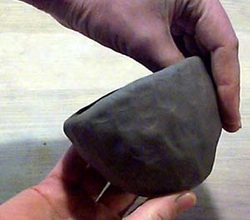
Now the fun part begins — forming your pot! The idea is to
gently press the clay from the inside with your thumb against your fingers on
the outside. Each time you press a bit with your thumb, give the clay a bit of a
turn before you press again. It doesn't matter if you turn the pot clockwise or counterclockwise, just work in a way that seems natural to you.
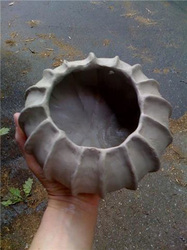
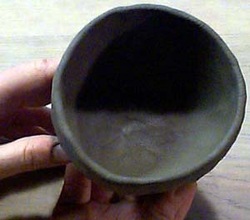
This photo shows the technique from a different angle. If you
curve your fingers slightly, you can control the shape a bit better and make a
more rounded form. If your fingers are held flat against the outside, the pot
rim will flare out more to make an open bowl shape. Experiment to see what kinds of forms you can make. Continue the pinching and turning method until the walls
of the pot are thinned out to a thickness that seems about right to
you.
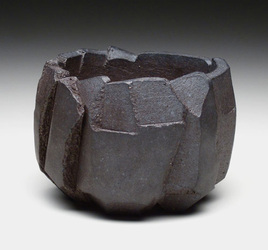
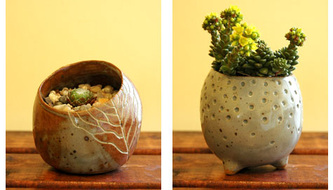
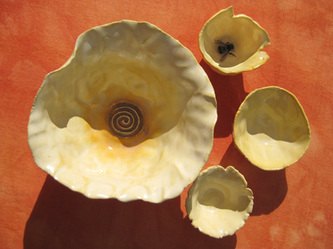
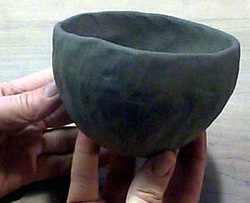
With a bit of patience and practice, it is possible to make
quite a finely crafted bowl with this simple technique. The main thing to
remember while working is to try for an even wall thickness as you pinch your
way around the bowl.
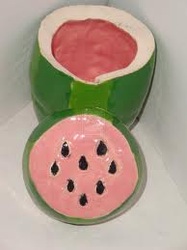
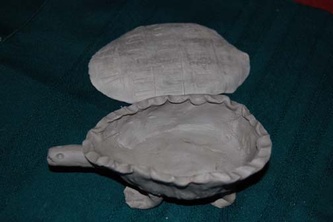
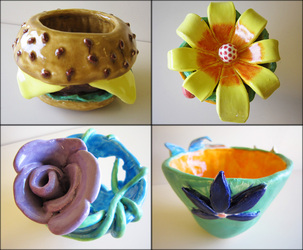
If you make two bowls of the same diameter, they can be
joined together, rim to rim to make a closed form. To join them take an old, wet
toothbrush and roughen the rims and then use your fingers to blend the clay of
the two pots together. The large, egg shaped pot made from the two bowls makes a
great body for a handbuilt animal — use your imagination!
quite a finely crafted bowl with this simple technique. The main thing to
remember while working is to try for an even wall thickness as you pinch your
way around the bowl.
If you make two bowls of the same diameter, they can be
joined together, rim to rim to make a closed form. To join them take an old, wet
toothbrush and roughen the rims and then use your fingers to blend the clay of
the two pots together. The large, egg shaped pot made from the two bowls makes a
great body for a handbuilt animal — use your imagination!
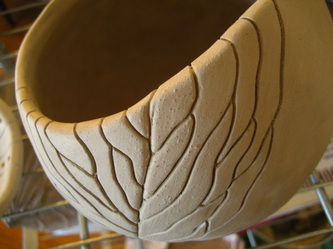
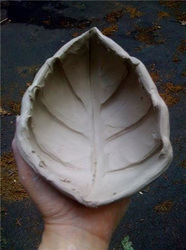
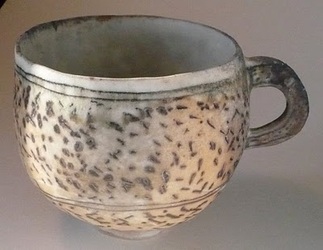
You can create texture on the outside of the pot if you wish by
pressing objects into the wall or by carving some patterns onto the surface.
Once the pinch pot has dried out a little bit, it can be burnished. You can use
a smooth stone or the back of an old spoon to rub the surface of the pot. The
more you rub the surface, the shinier it will get.
People have been using
this same pottery technique for about 20,000 years. We hope that you have some
fun trying it out for yourself!